


.png?w=100&itok=wKdP9svH)


.png?w=100&itok=D7d8Umfz)

.png?w=100&itok=Lj7SSICT)


Drill into timber, soft metal and hard materials including brick and concrete with the RYOBI 18V ONE+ Hammer Drill.
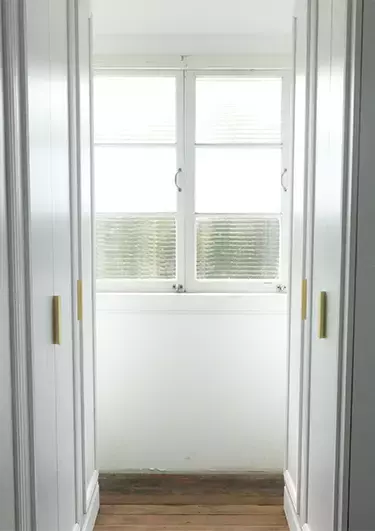
A window seat can be a great addition to any home and a great way to soak up some precious Vitamin D while reading a book or just enjoying the view. Here are step-by-step instructions on how to make your own Window Seat.
Note: Measurements and the amount of materials required will depend on the size of the space where the window seat will be built.
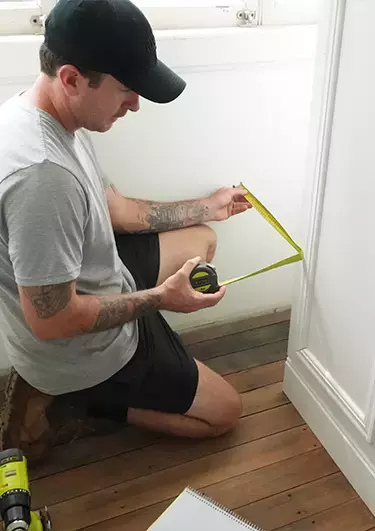
Using a tape measure, measure the area where the window seat will be constructed noting down all measurements for the frame pieces, top/front sections and architraves.

Using a mitre saw, cut the structural timber for the frame to length. Cut the architraves to length.
Using a circular saw, cut the top particle board sections to size (ensuring you cut out a section for a lift up panel for storage if required) and cut the MDF JV lining board to size.
TIP: Apply masking tape to your cut lines prior to cutting to minimise the edges chipping.
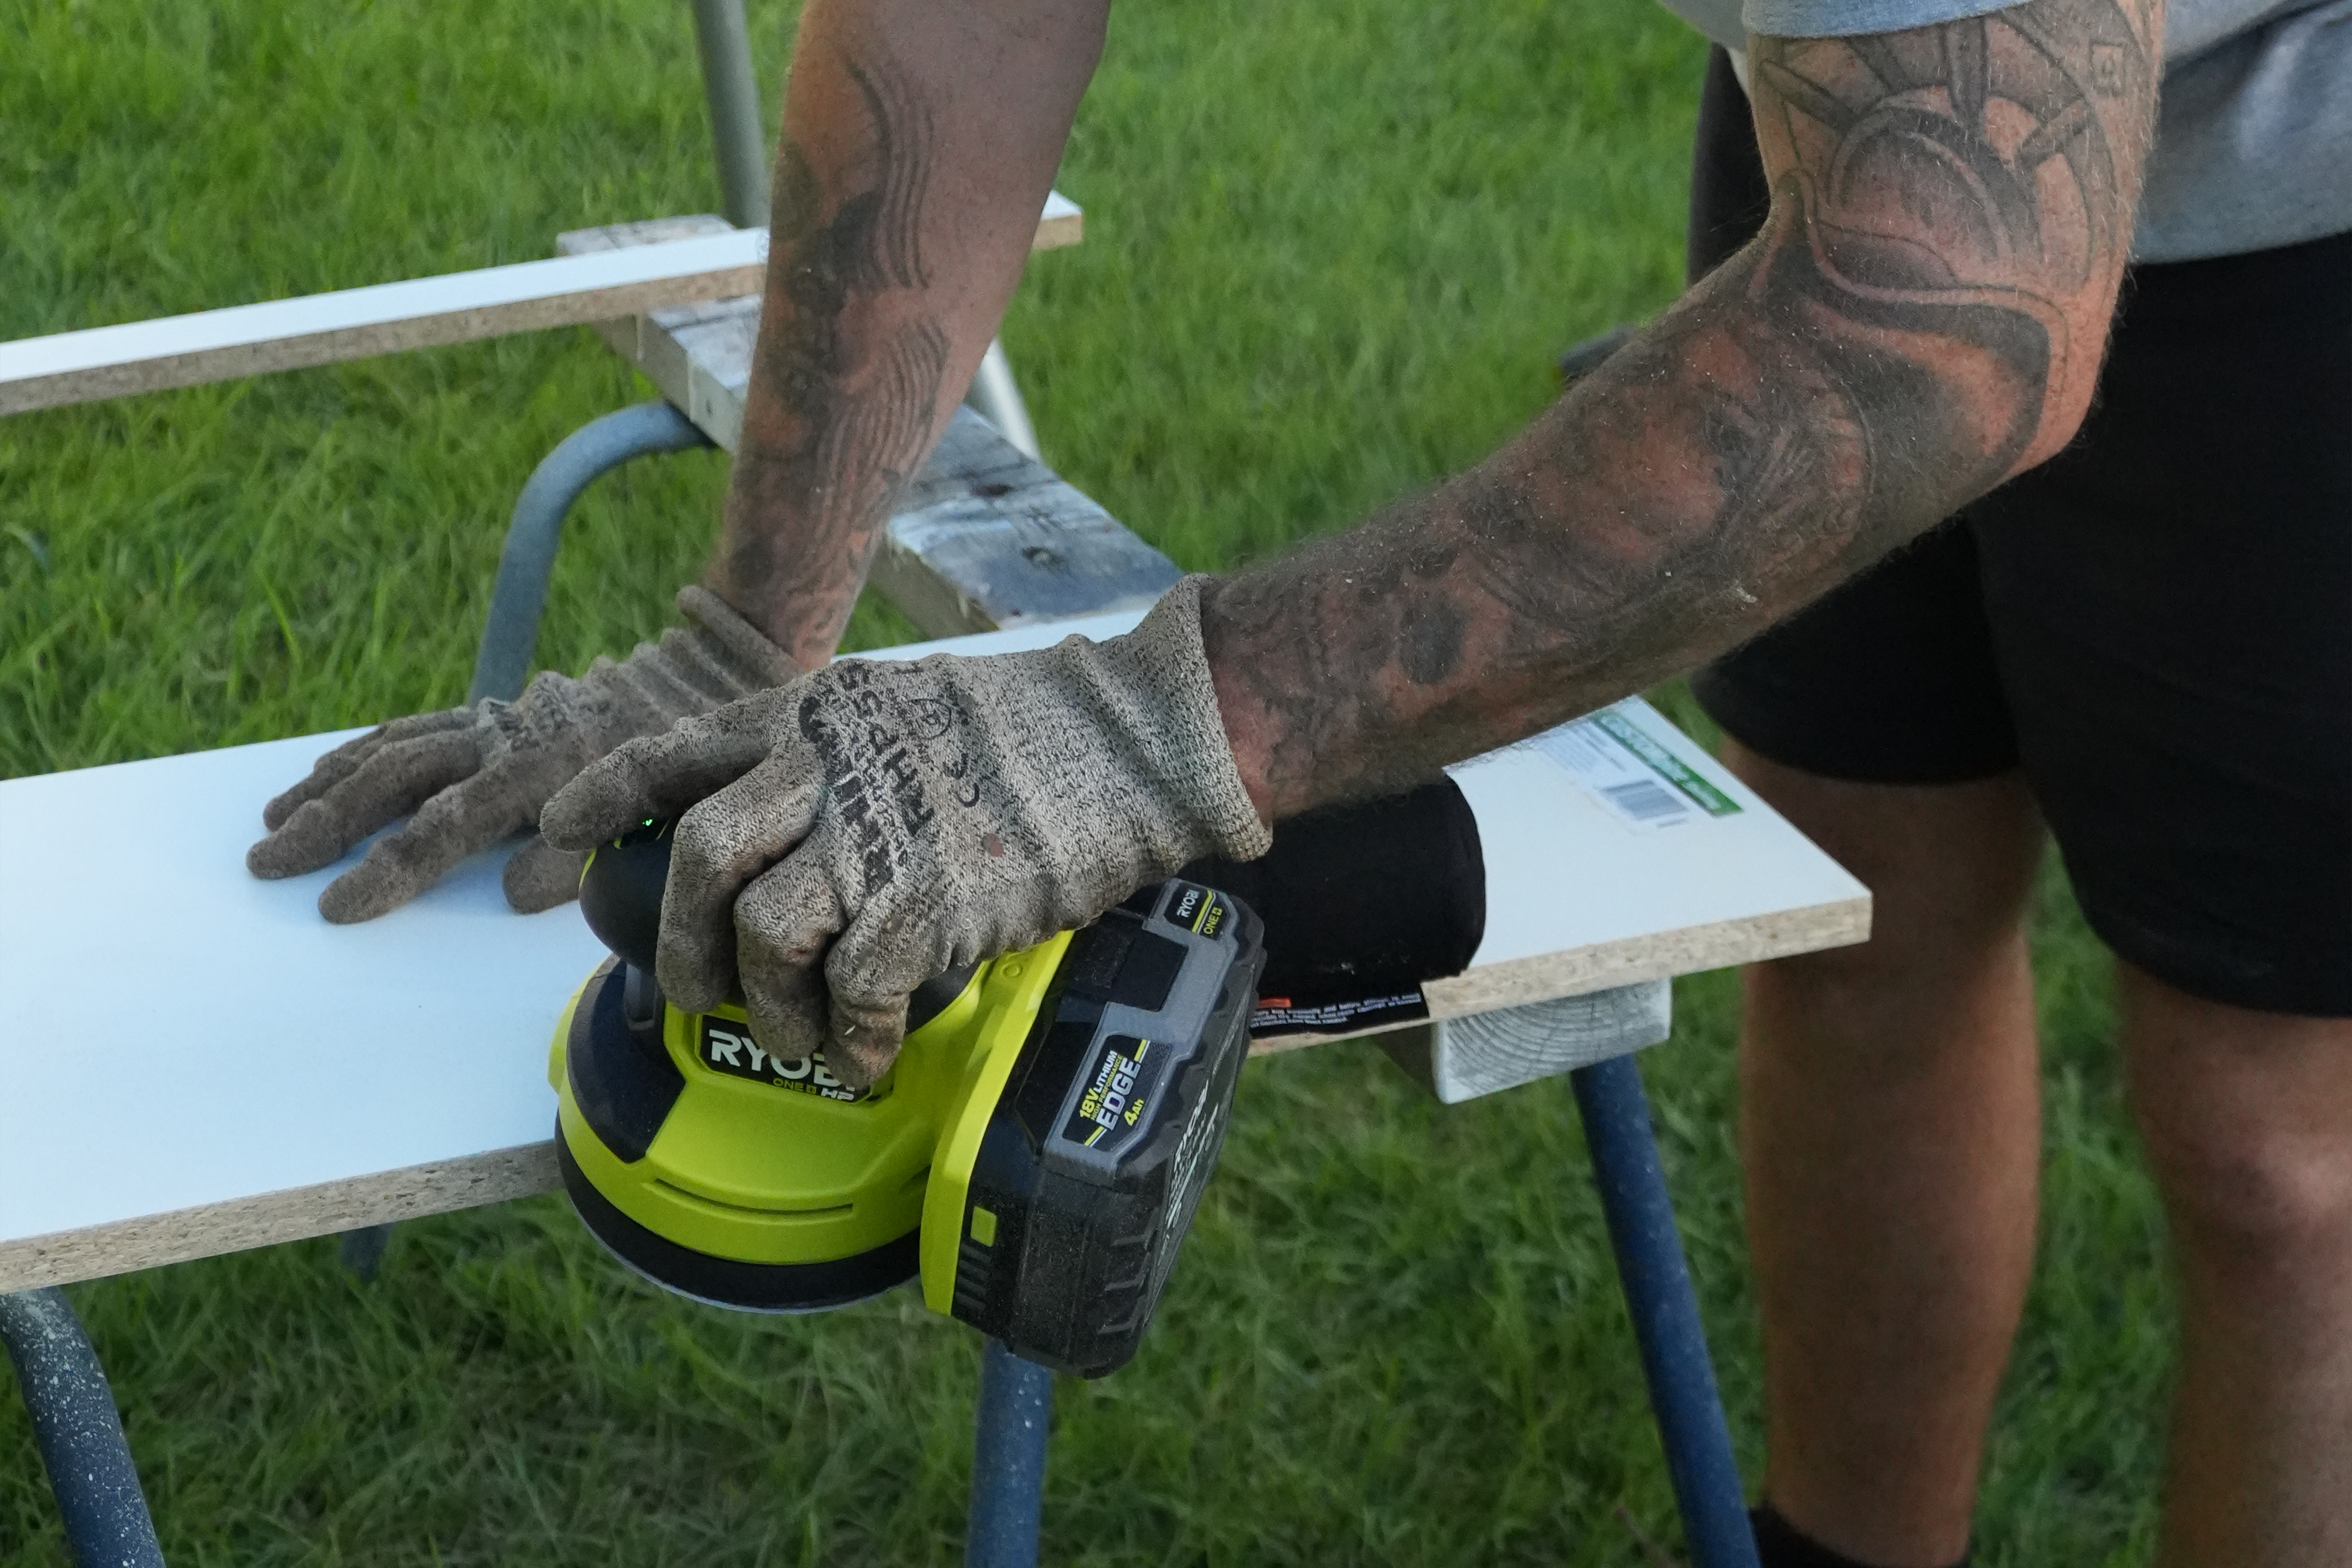
Using a random orbital sander, sand any rough and sharp edges using a 240 grit sandpaper until smooth.

Assemble the structural timber into two rectangles with supports in the middle, securing the pieces together with 75mm timber screws.
Install the frame into place using 75mm timber screws through the bottom timber into the floor. (concrete floors will require concrete anchors or frame can just sit in place if screwing into the floor is not an option e.g. rental properties).
Using a brad nailer and 40mm Brad Nails, secure the front MDF panel and architraves into place.
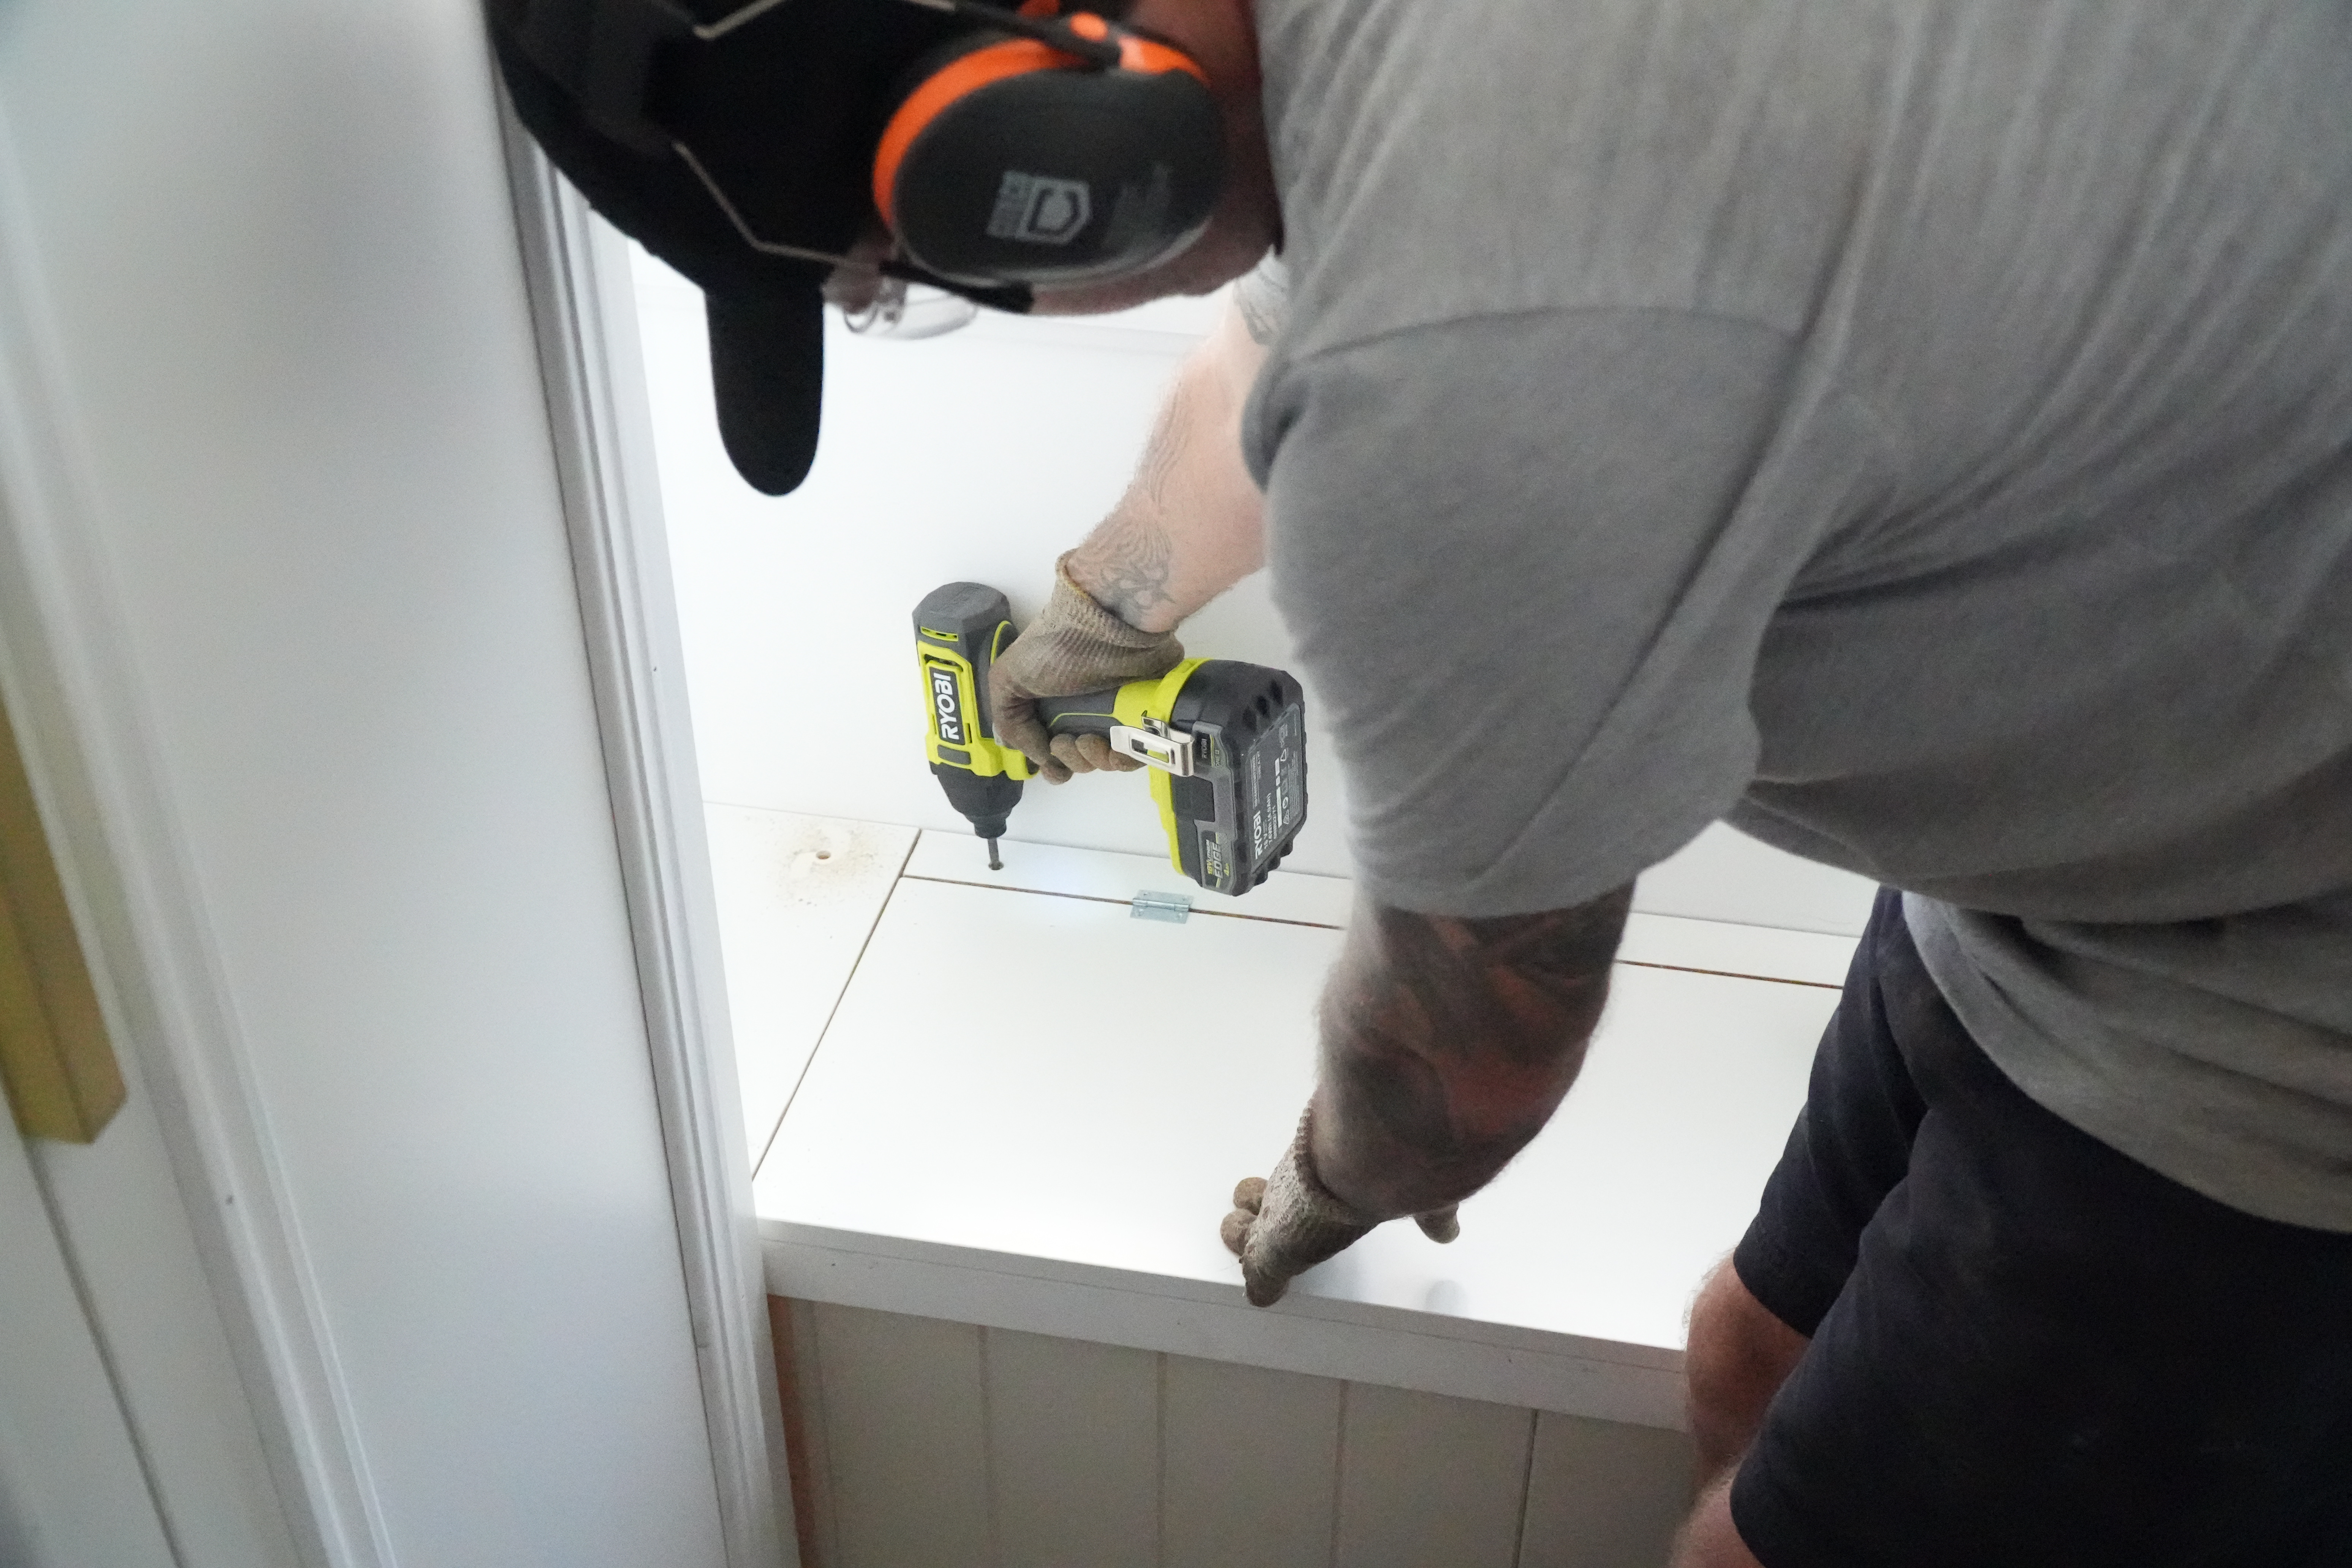
Install top particle board pieces by pre-drilling holes and securing with 40mm timber screws. At this point, attach the openable hatch lid using your hinges.
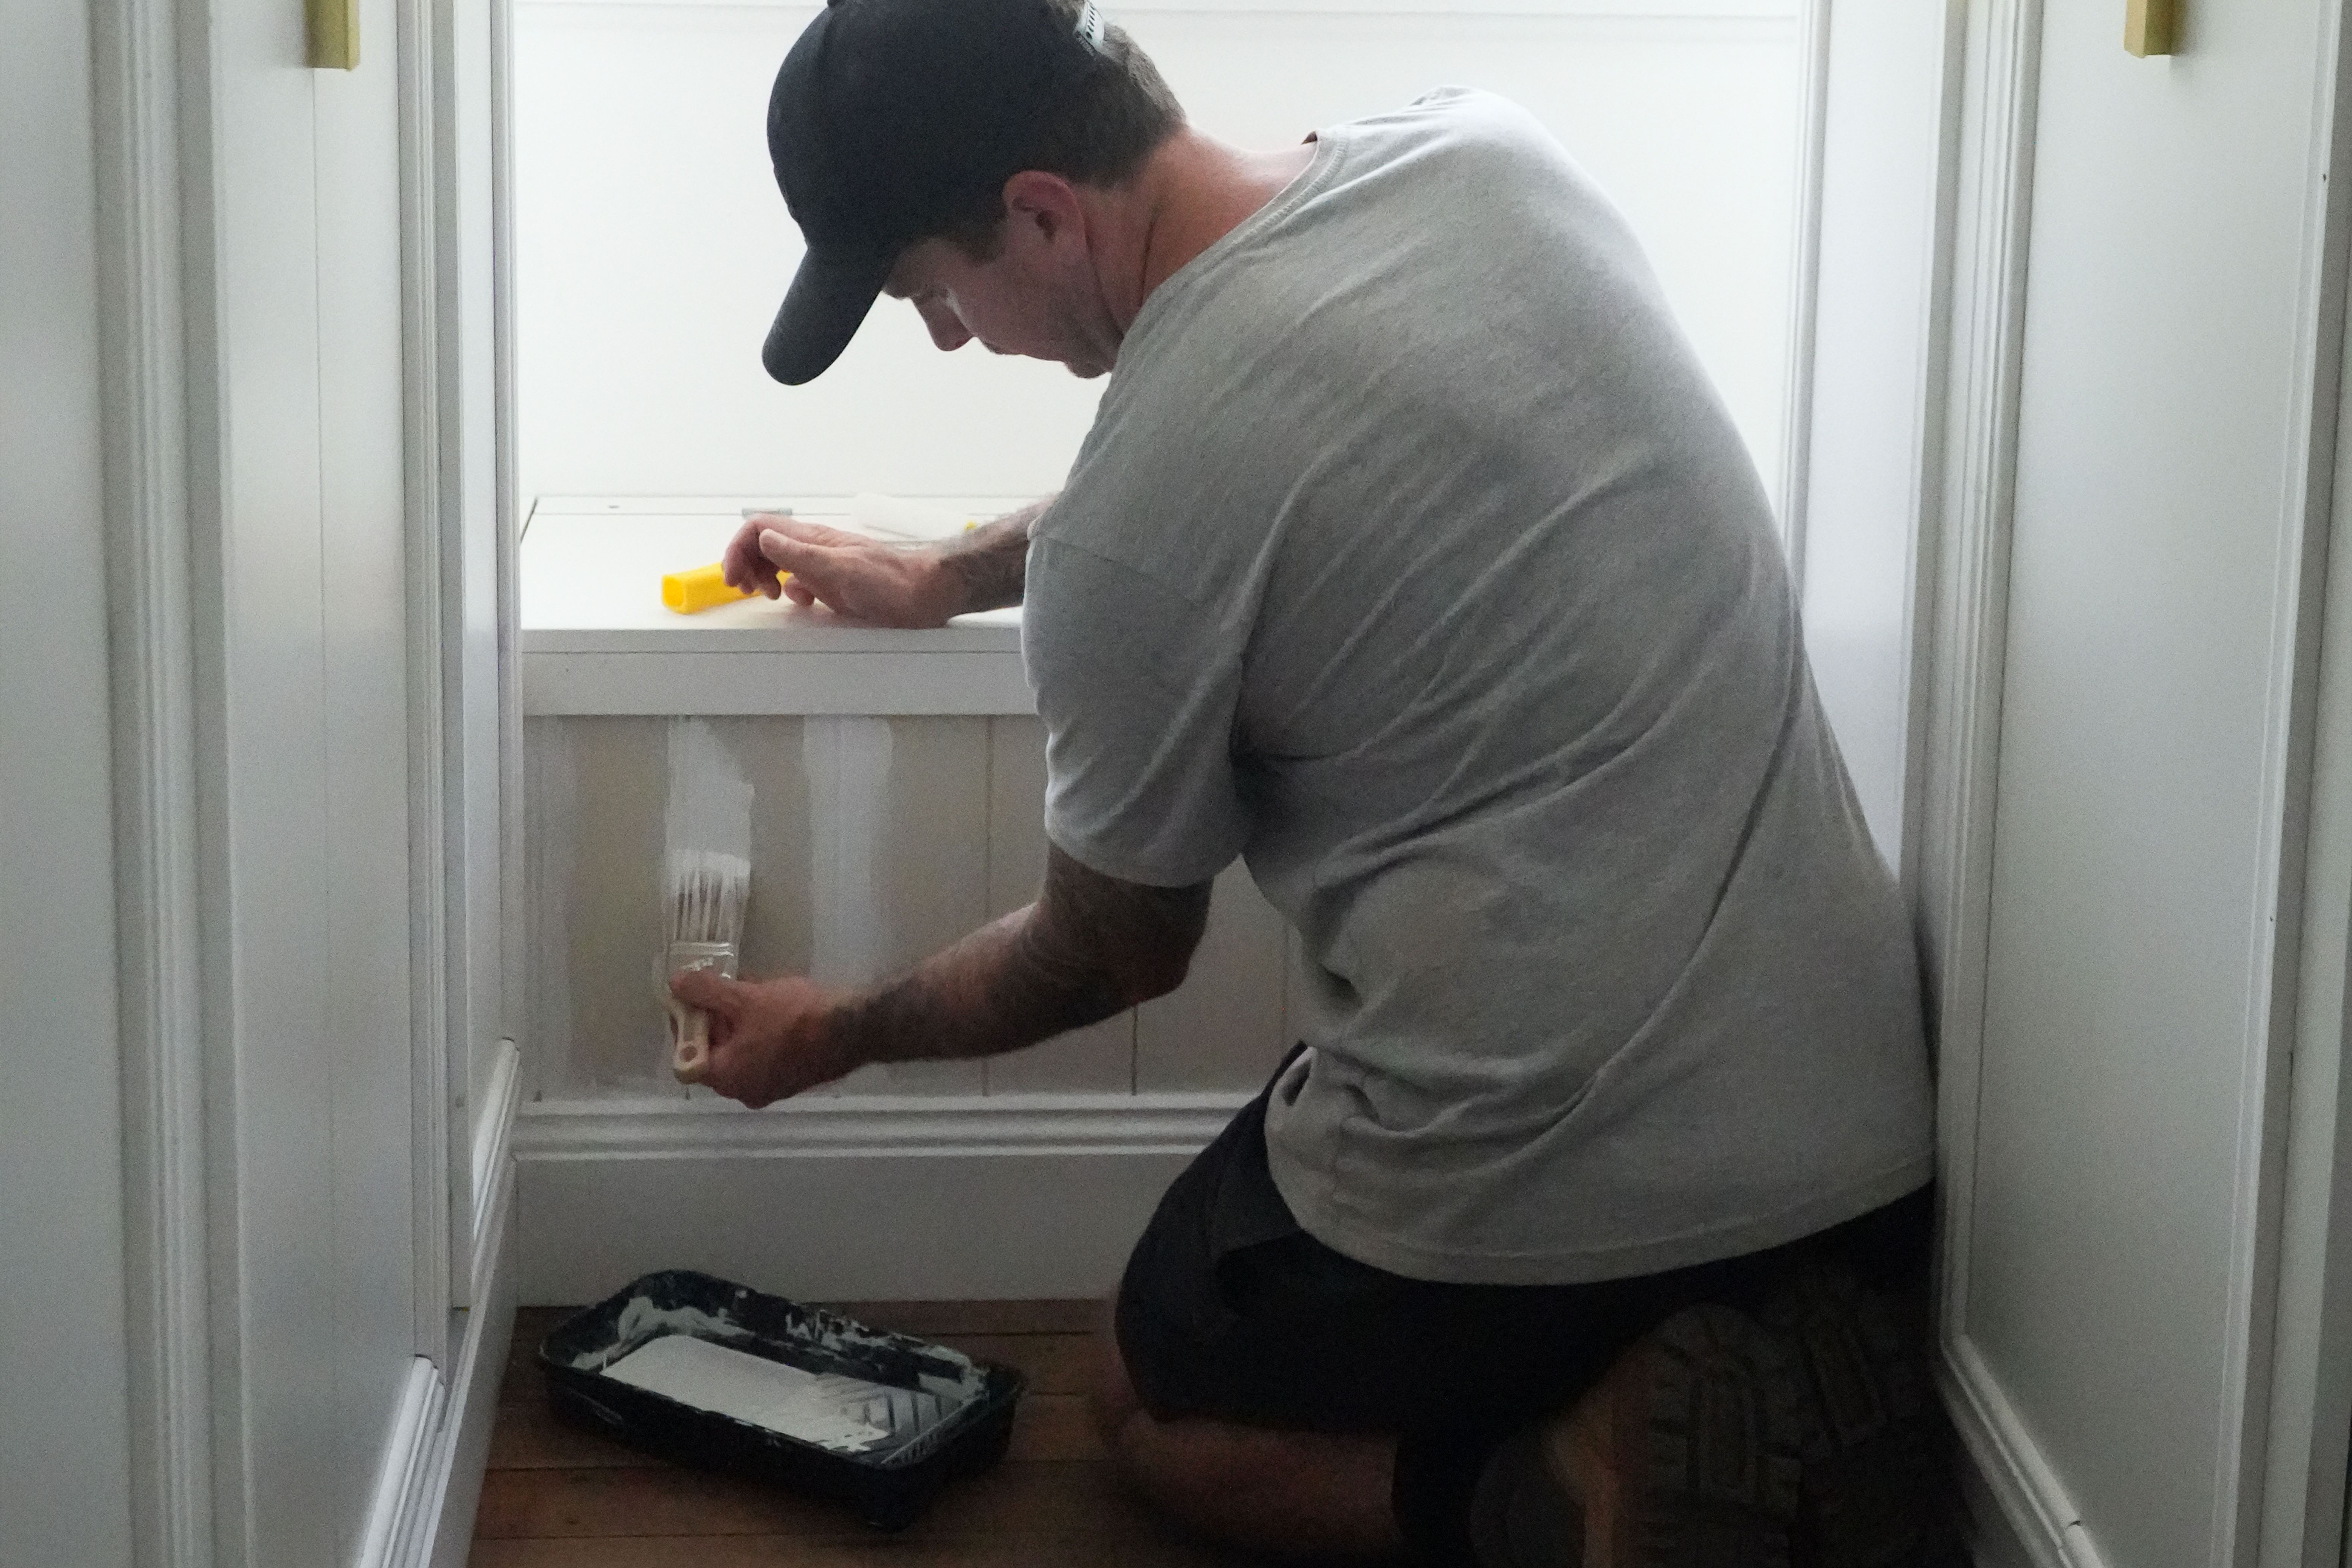
Fill any nail holes with a suitable wood filler, sand smooth once dry and paint your new window seat to your desired colour.
Once the paint is dry add some seat cushions for some added comfort.
Feeling creative but lacking ideas? We’ve got you covered! Watch our videos and follow the step-by-step instructions to unleash your creativity.


.png?w=100&itok=Md9-7E8t)


%20(2).png?w=100&itok=fEHREjki)
_ANZ-Group-shot_v2.png?w=100&itok=Z_Qi2FlQ)
_ANZ-Group-shot.png?w=100&itok=k25pq8iJ)


.png?w=100&itok=fnsLcLhG)


.png?w=100&itok=efvsqCNL)


%20Group%20shots%20(1).png?crop=yes&k=c&w=125&h=125)


%20Group%20shots.png?crop=yes&k=c&w=690&h=690&itok=SGtaypa8)


.png?crop=yes&k=c&w=690&h=690&itok=gfFIhyAE)