Drill into timber, soft metal and hard materials including brick and concrete with the RYOBI 18V ONE+ Hammer Drill.
Checkout at Bunnings to calculate delivery or collect in-store
How to choose the right 18V ONE+ battery for your product and task. Read more.

Start typing in the search bar. Our autocomplete feature will provide relevant suggestions. Press 'tab' to accept an autocomplete suggestion.
A floating shelf in almost any room can add style or functionality. In a laundry, it can be both.
Beginner level.
Step 1: Decide on the height of your floating shelf.

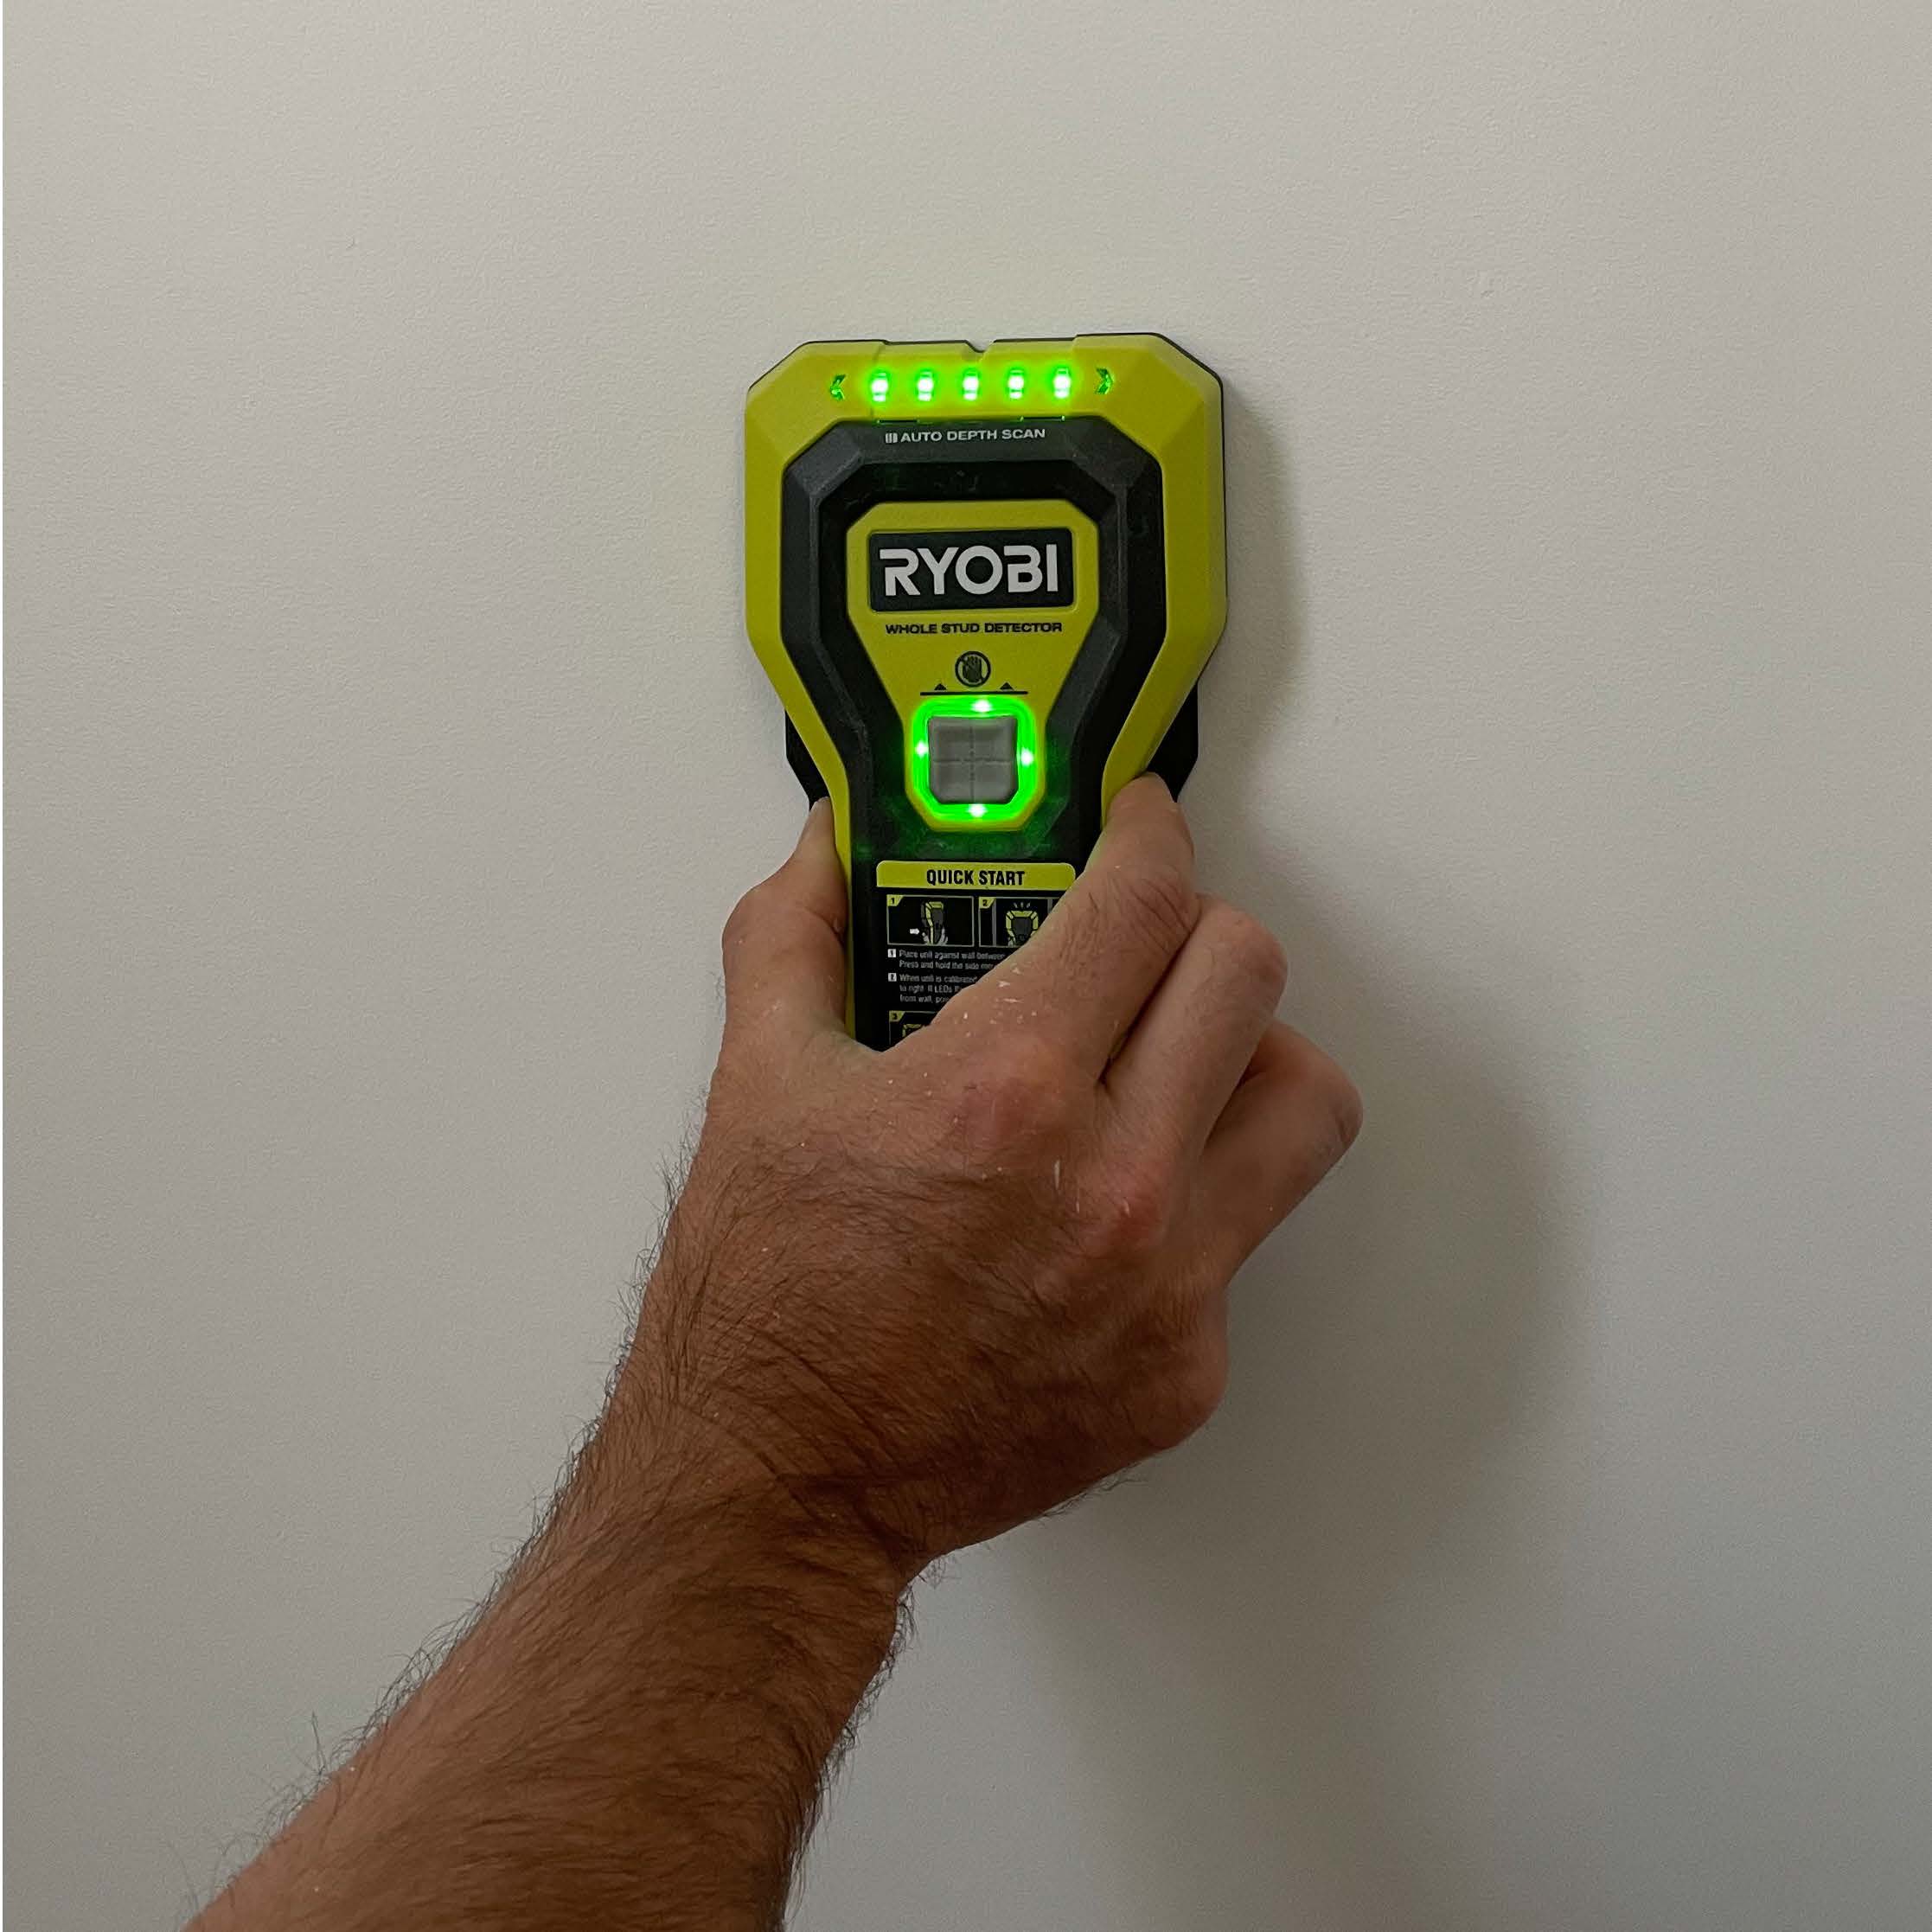
Step 2: Use your stud finder to find the timber framing (studs) behind the plaster board to attach your brackets to. This is essential to ensure it stays in place.
TIP: Use a stud finder to check for electrical cables or water pipes behind the plaster wall. If either are detected, DO NOT drill there. Find another more suitable location.
Step 3: Once you’ve determined your height and where the studs are, set up your laser at the correct height, hold your brackets up in line with the laser for a level shelf and draw a line around them.
Step 4: Using your multitool, cut out the plasterboard where you have marked – this step is if you want your brackets to be hidden - otherwise just skip to step 5.
Step 5: Using your laser again, line up the brackets and mark screw holes with a pencil, pre-drill the holes you just marked using your drill and a 3mm drill bit.

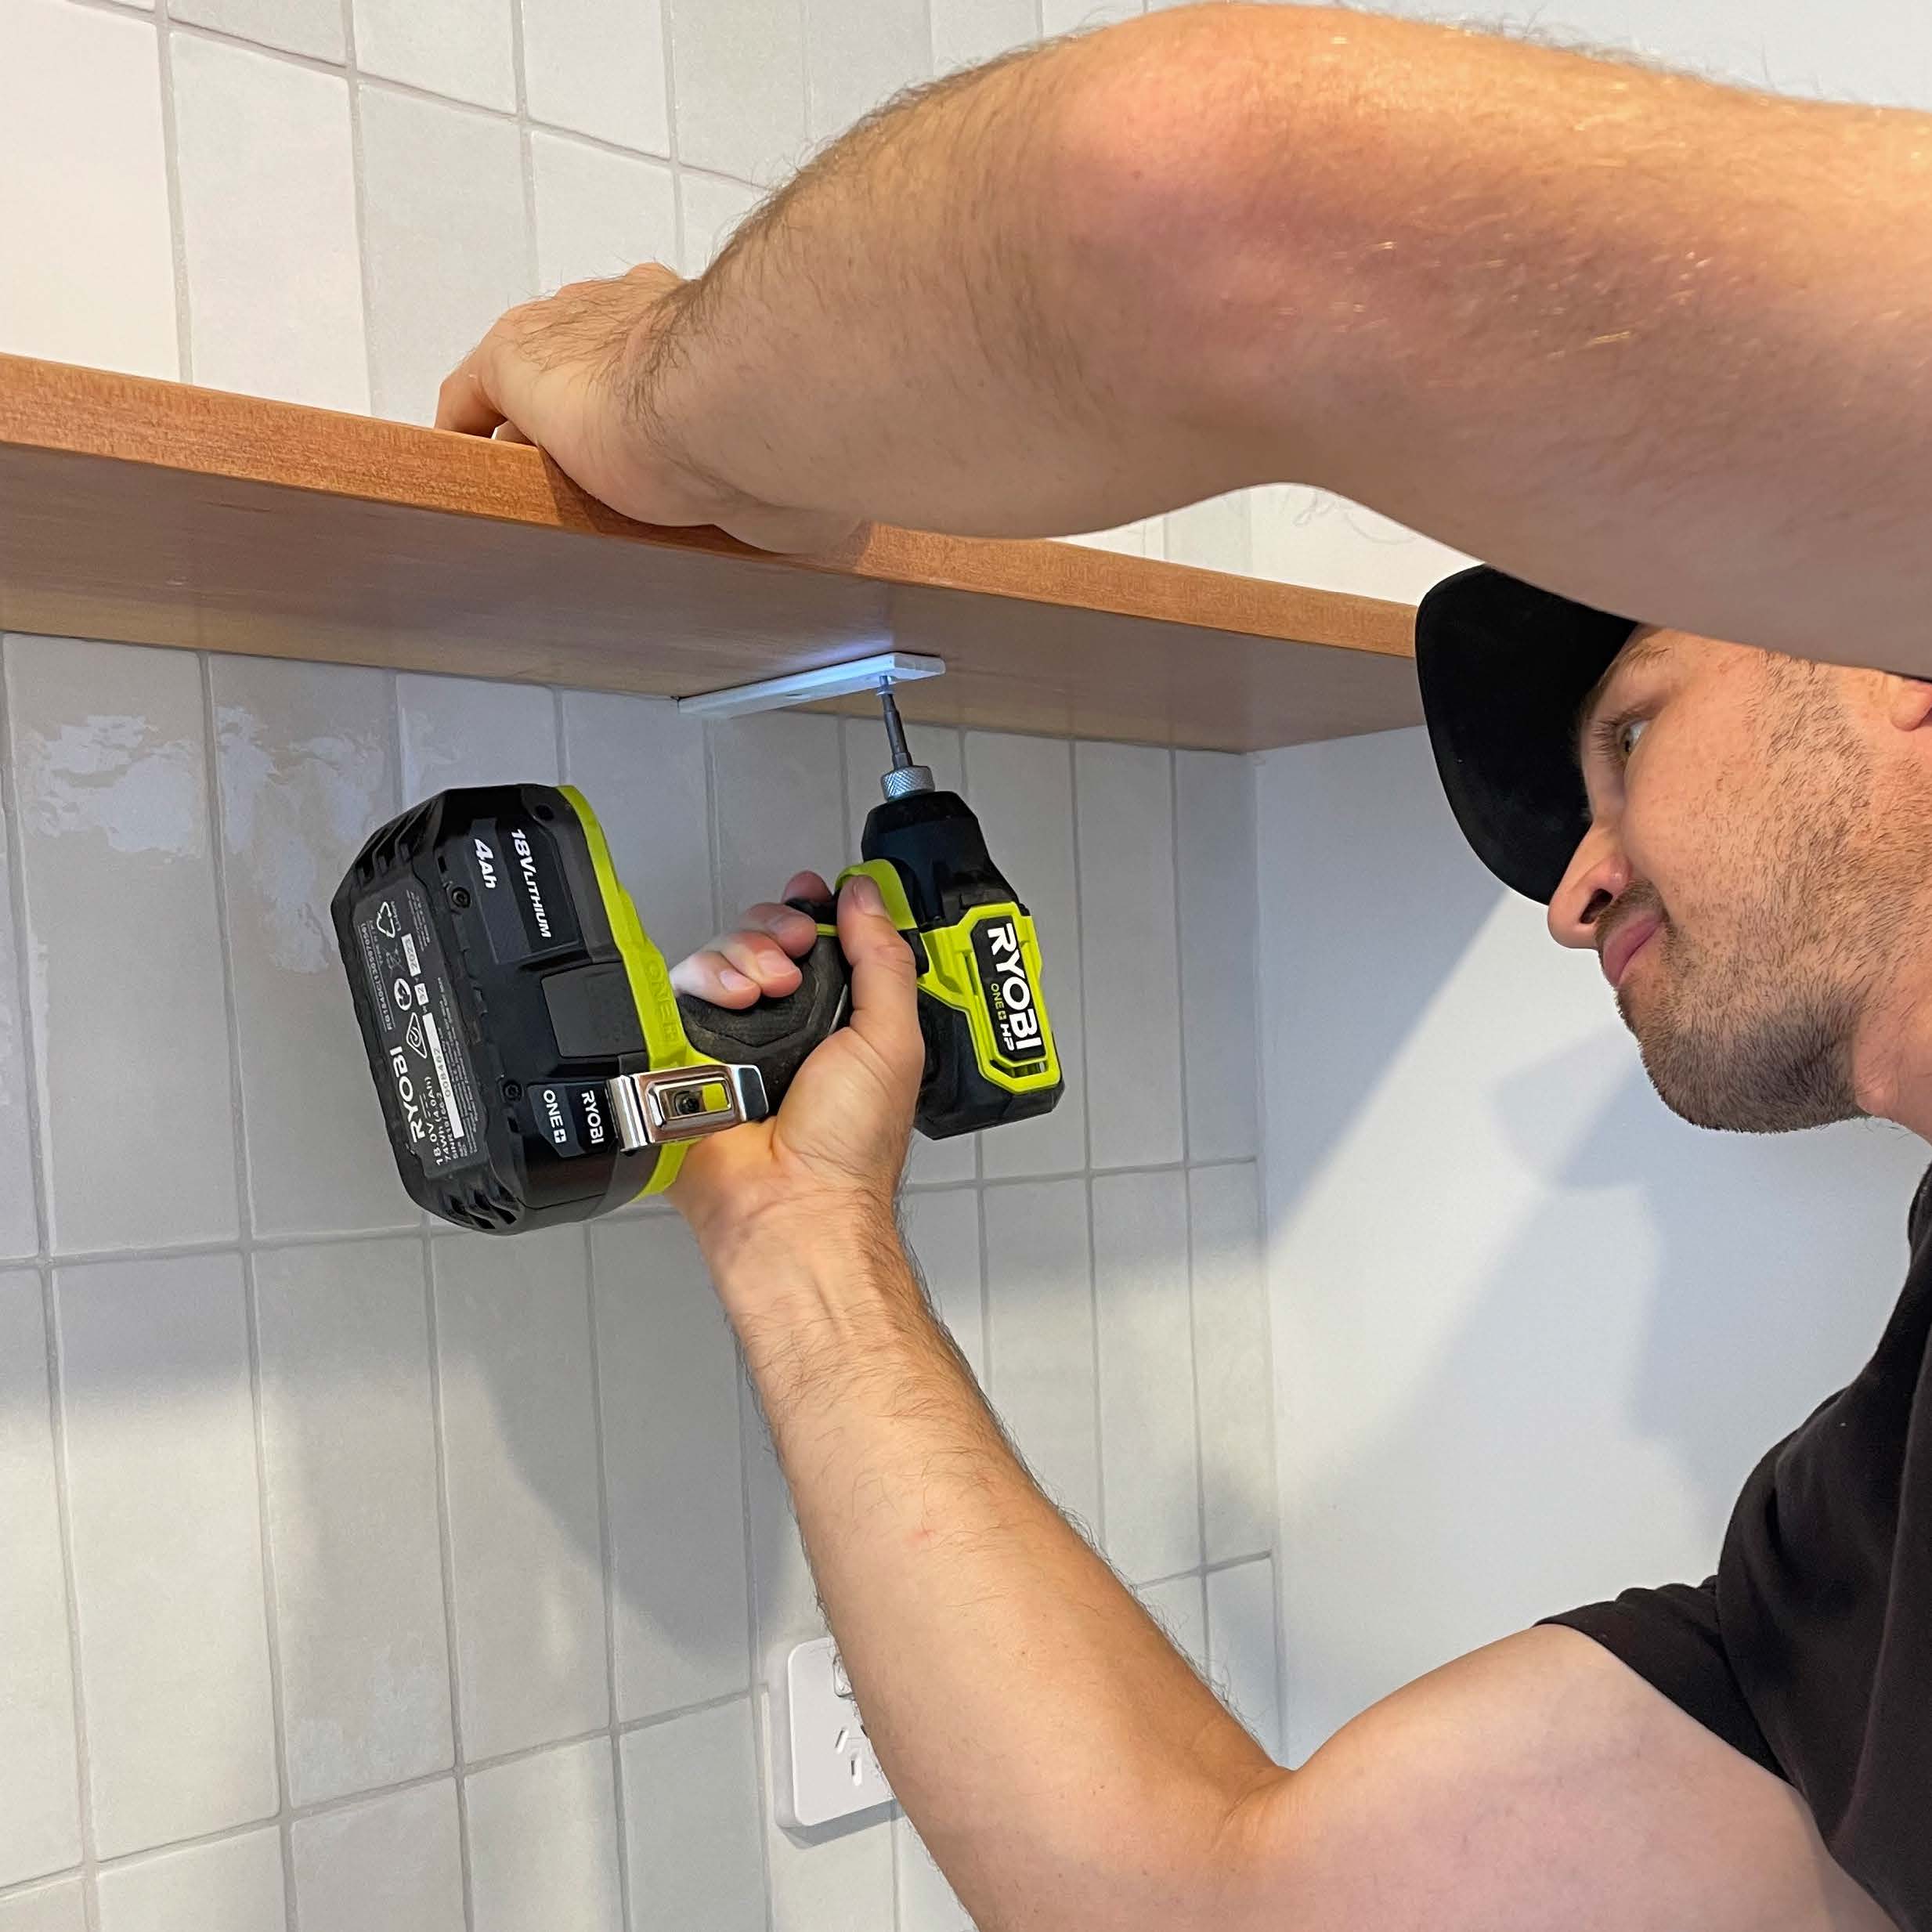
Step 6: Screw your brackets in place using your impact driver and place your shelf on them. Screw from under the brackets into the shelf to hold it securely. Continue to steps 7 & 8 if you made cut-outs for the brackets.
Step 7: Plaster over the cutouts you made for the brackets with plaster repair (a product like Selleys Spakfilla works well).
Step 8: After the plaster has dried, sand smooth.
Looking for inspiration, tips and ideas? Create a home that reflects your unique personality and taste.